Status View Window

Contents
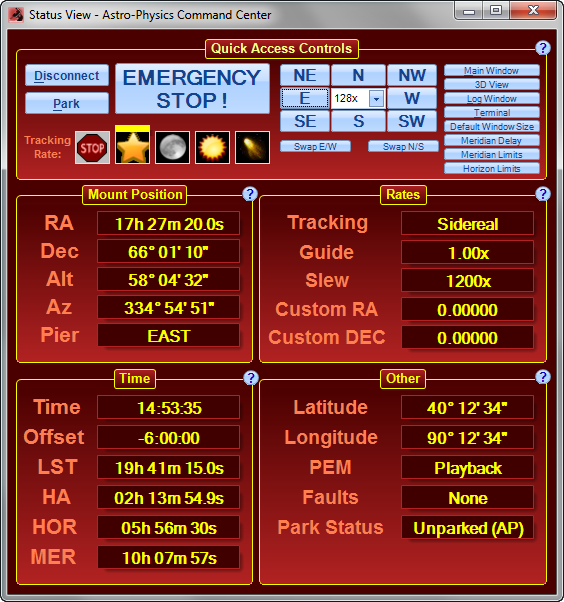
The Status View Window provides a convenient way to view information regarding your mount's position, rates, time and other information all in one window. You can initiate button rate commands to center an object in your eyepiece or initiate a "stop" command in an emergency. It also provides a quick link back to to other windows. The Status View Window can be resized to fit your screen.
Opening the Status View Window
Show Status View Window When Starting: If you want the Status View Window to display instead of the Main Window each time you start APCC, check the appropriate box on the Setup Tab of the Main Window.
Status Window Button: Click on the button located on the Main Window under the Telescope Position group box.
Quick Access Controls
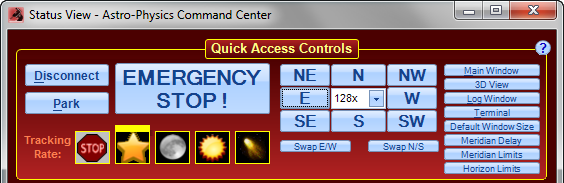
Connect / Disconnect: To connect APCC to your mount, press this button. Note that if an ASCOM application invokes the driver and the driver cannot connect to APCC on its virtual port then the driver will try to start a new instance of APCC and wait until the connection has been established. In the Connection Group box, you will want to have "Auto-connect when started" checked. Refer to Connection Group Box for more information.
Park: Parks the mount to the park position selected on the Park Tab.
EMERGENCY STOP!: Press this button to stop the mount. For more information check this section.
Tracking Rate: The symbols represent various tracking rates. The yellow line above the symbol indicates which rate is active. You can change the rate by selecting the appropriate symbol, with the exception of the variable rate. This rate must be set on the Rate Settings Tab.
NOTE: You can move the scope with the move buttons and the rate will still be maintained. Doing a GoTo slew usually means you want to look at a different target so tracking is reset to sidereal because almost every other target's tracking rate is sidereal!
NOTE: If you find that your mount is stopped (not tracking) and you are unable to change to any of the tracking rates, click on the Emergency Stop button and see if tracking was stopped there. If it was, click again to begin tracking.
N/S/E/W/NE/NW/SE/SW: When pressed, the mount will move in the direction that the button indicates. The rate of movement will be defined by the number in the center box, which shows the rate the mount moves in sidereal rate units when the button is pressed. This number can be changed with the arrows or simply type the value in the field.
Swap N/S: Swaps the direction of North and South button commands.
Swap E/W: Swaps the direction of the East and West button commands.
Buttons for quick link to other windows: Any of the remaining eight buttons at the far right can be clicked to open the corresponding tab or window.
Mount Position
Displays information obtained from the mount control box.
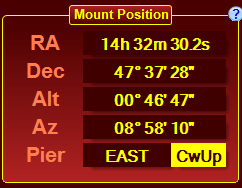
Note that when the mount is in a counterweight-up position, this will be indicated in the Pier field along with the pier side.
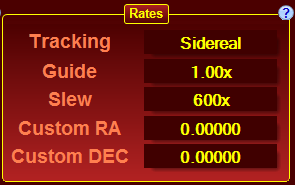
Rates
Displays information obtained from the mount control box.
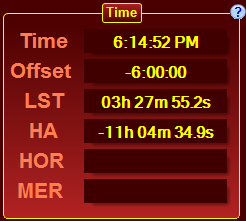
Time
Displays information obtained from the mount control box.
Other
Displays information obtained from the mount control box.

Faults: This field can display the following:
•None = No faults
•Power = Low Power fault
•Stall = Motor Stall
•Servo = Servo fault
If there are multiple items they will have a "+" sign between them. For Instance: "Power+Stall".